 ▶ Watch on YouTube
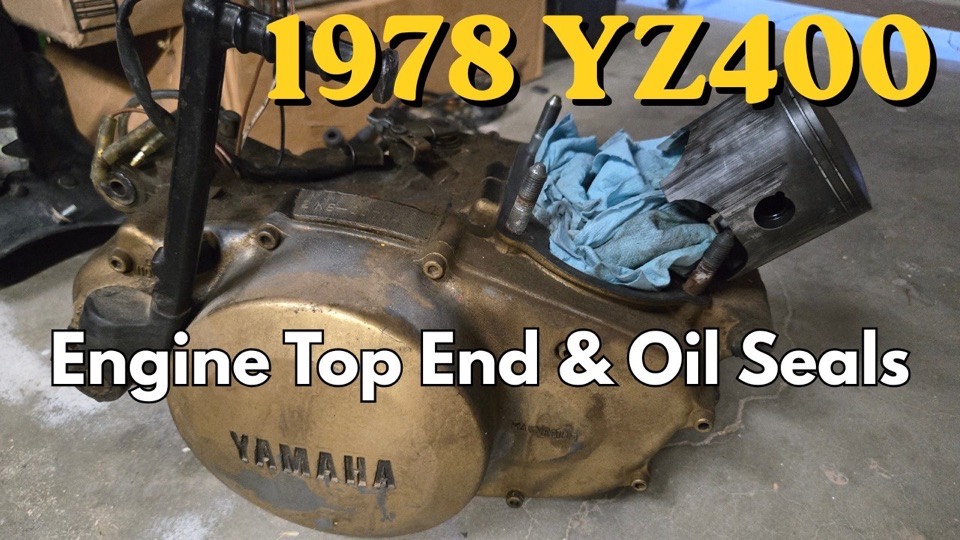
With the top end at the machine shop for the rebore, I was left with the engine on my workbench. It had spent the last couple of months leaking in my garage, so I knew it was time for new seals.
The same shop, years later
The shop doing the rebore is the same shop where I saw that yellow and black YZ400 years ago. It's also the shop that helped me bore out my damaged IT175 engine, the one I used in the Mint 400 race.
The new Wiseco piston is a good addition to the rebuild. As with the seals, it's really awesome that there's a company still making these regularly replaced engine parts.
A full reseal kit
It's pretty amazing that a company — somewhere in the UK, I think — still makes these seals. I bought the full reseal kit and replaced all of them.
Even seals that aren't leaking now have a good chance of starting once the engine runs again — the heat and vibration will cause new leaks. And it's easiest to change seals with the engine out, so at this point it was a no-brainer.
It's easiest to change seals with the engine out, so at this point it was a no-brainer.
Old rubber seals harden and shrink with age. An engine that sits can seem fine, and then the first heat cycles open up the leaks.
Taping off, or building it first
With the seals changed, I could easily clean up all the oil and prep the bottom end for a repaint.
I realized, however, that without taking the engine fully apart, it's tricky to tape off the areas that shouldn't get paint. So I decided to fully rebuild the engine — top end and case covers — then tape off what was left and paint the whole engine assembled.
Hung from a heavy bag stand
I'd never really done this kind of paint job. An assembled 400cc engine is a lot of weight, and it would be tricky to paint suspended.
After some thought, I ran chain and bolts through the mounting holes and hung the engine from my heavy bag stand in the yard. That way I could turn the engine easily, and get to the top and bottom with ease.
I hung the engine from my heavy bag stand, so I could turn it and get to the top and bottom with ease.
Primer and enamel
- A high-heat primer coat.
- Then a gloss engine enamel, in black — the color this engine is stock.
This thing turned out great. I'm so happy I decided to pull the bottom end and paint it as well as I could with a rattle can.
One day I'll get into a sprayer, but for now, rattle cans will have to do.