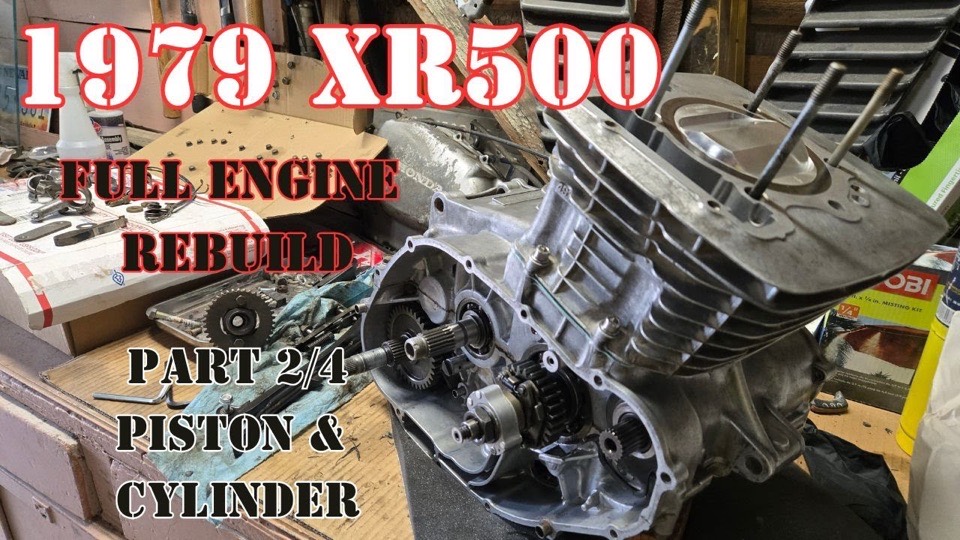
 ▶ Watch on YouTube
Properly measuring a piston and cylinder bore requires some special measuring tools. Before any new piston gets ordered, the cylinder it's going into has to be measured — because the cylinder decides what size piston the engine needs.
Three measuring tools
A micrometer and calipers are a couple of tools that are relatively inexpensive and valuable to have. More expensive and complicated is a bore dial gauge.
- Calipers — relatively inexpensive, and the most commonly used of the three.
- Micrometer — relatively inexpensive, for an even more accurate measurement.
- Bore dial gauge — very expensive by comparison, and takes practice and study to use correctly.
Calipers
Calipers are the most commonly used of the three. They're used to measure tolerances on many parts — clutch plates, bolt diameters for wear (think swingarm pivot bolt), and other parts that wear down with use.
That's the real job of measuring on an old bike. A part can look fine and still be worn past its limit. The manual gives the number a part should be and the number it's allowed to wear to; the calipers tell you which side of that line it's on.
The micrometer
The micrometer is helpful to get an even more accurate measurement, and it works well in combination with the other two tools. Calipers get you close and fast. When the tolerance is a few thousandths and close matters, the micrometer settles it.
The bore dial gauge
The bore dial gauge is very expensive relative to most other tools on the workbench, and it requires a bit of practice and study to use correctly.
By changing a size adapter to suit the measurement and then zeroing out the dial, a mechanic can rock the gauge in various places inside the cylinder and get a reading. That reading determines whether the cylinder is still within the tolerance limits for a specific size of piston and rings.
The rocking is the part that takes practice. Tip the gauge slightly back and forth in the bore and the needle swings; the reading that counts is where it turns around — the point where the gauge is square across the cylinder. Taking that reading in several places is what shows whether the bore has worn evenly or not.
When the cylinder is worn
If the piston is too small for the bore, the next size up is needed.
Often the cylinder wear isn't uniform. To bring the walls back to uniform measurements, a new, larger piston is needed — and a trip to the machine shop, to bore the cylinder out to match the new, bigger piston.
The cylinder decides the piston. Measure first, order second.
The XR500's bore
After opening up the engine on the XR500, I measured the bore, and thankfully the stock size was still the right size. No boring, and no trip to the machine shop.
Why a new piston anyway
Even though the piston and rings were within spec, I opted to get a new piston. I just wanted to put a new one in. The only new piston available to me at the time was a high-compression piston from Wiseco.
The high-compression piston I got is larger at the top, which reduces the space left for the compressed air and fuel — and squeezing the same charge into a smaller space is what creates more compression. As a result, it needs cutouts around the valves.
An interference engine
This is an interference engine, meaning the valves drop into the area the piston moves through. So the timing has to be correct, or the valves will hit the piston, causing massive damage.
A piston that takes up more of that space only makes the point sharper. It's not something I completely understand, other than this: be sure to get the timing right, or be ready for another rebuild.
Checking ring gap
I put one ring at a time into the cylinder and checked the gap with a feeler gauge — a set of thin metal strips at different thicknesses, each one marked in both millimeters and inches.
Ring gap is the space between the two ends of a ring when it's sitting in the bore. Rings get hot and grow when the engine runs. Too little gap and the ends can butt together; too much and compression gets past. The feeler gauge strip that just slides into the gap is the measurement.
The hone, and the top end
I performed a hone myself and got the cross-hatching back, then rebuilt the top end.
The hone I used is a spring-loaded one that runs in my drill: three small stones on a spring-loaded holder. It's usually sold as an adjustable cylinder hone, or a three-stone deglazing hone. The springs push the stones out against the cylinder wall, and an adjuster sets how hard they press — so one tool can be used in cylinders of various sizes. Each model covers its own range, so it's worth checking that the range takes in the bore you're working on.
And of course, I used oil with it — engine oil. The oil keeps the stones cutting cleanly and carries away the fine grit and metal they take off the wall.
A ball hone is the other common type — a brush with small abrasive balls on the ends of its bristles. It's made for one specific size range, so a different bore usually means a different ball hone.
The cross-hatch is the fine criss-cross pattern a hone leaves on the cylinder wall. It holds a film of oil on the wall and gives new rings something to wear against as they seat.
I was confident it was right, but there's always a little anxiety the first time it turns over. Turning the engine over was smooth, and although I don't know for sure yet, everything passed the initial check.