 ▶ Watch on YouTube
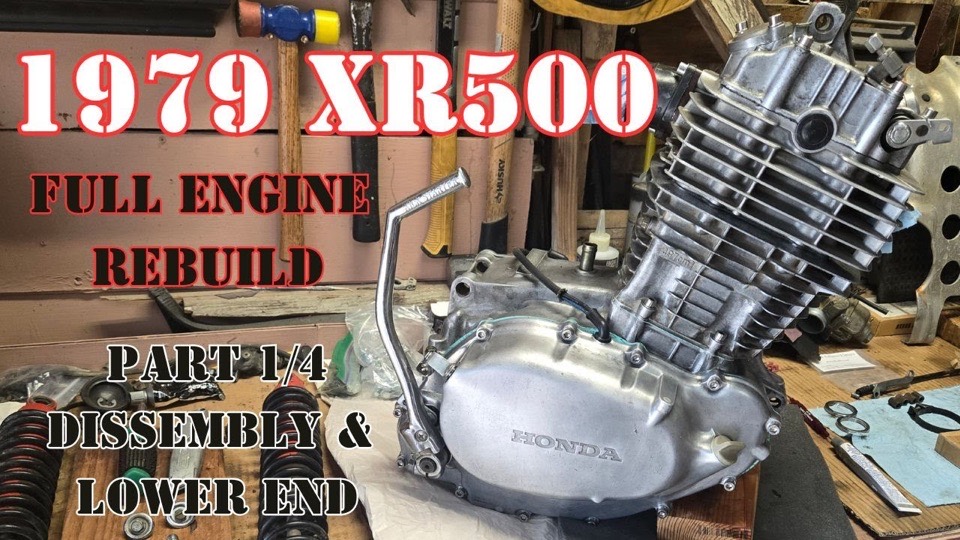
The XR500 bottom end was the most complicated I've rebuilt so far. Not because it's the most complicated engine ever — I know it isn't — but mainly because of one part of it: a balancer chain, in addition to the cam chain.
Getting the engine onto the bench and splitting the JB Welded clutch case are in the last post, Uncovering damage without making it worse. This one picks up with the engine apart.
Two chains
Up to this point, I'd only repaired two-stroke engines or small four-stroke engines. A two-stroke has no valves to time at all, and a small four-stroke usually has one chain to get right: the cam chain, which keeps the camshaft up in the head turning in step with the crank, so the valves open at the right moments.
The XR500 has that cam chain, and a balancer chain down in the bottom end as well.
What the balancer does
A big single-cylinder engine shakes. One heavy piston going up and down thousands of times a minute pushes the whole engine back and forth with it. The balancer is a set of spinning weights, driven off the crank by its own chain, that swing against the piston's movement and cancels out a good part of that shake.
That only works if the balancer is synced with the piston. Install it out of step and it no longer cancels the vibration — it can add to it, and the engine vibrates excessively. So it isn't timing in the ignition sense, and it isn't valve timing. It's mechanical timing: two spinning parts that have to stay in step with each other.
Marked links and dotted gears
This engine's balancer chain has marked links, and three gears with dots that align with the marked links. Get every dot lined up with its mark and the balancer turns in step with the crank, the way it was designed to. Get one off and it doesn't.
When the count didn't match
What really confused me with this part of the rebuild was that the book — a Clymer manual — had a special note about the number of links between the marks on the chain. When I counted by hand, my count was off.
The marked links on my chain were picked out in gold, and that made me doubt the marks, not my count. I thought a previous owner had made their own marks.
That's a bad spot to be in. The marks are only useful if they're in the right places, and the book is the thing that's supposed to tell you where the right places are. If the chain and the book disagree, one of them is wrong, and the engine doesn't care which.
So I went looking. I read online blog posts and parts schematics.
The answer on eBay
In the end, it was looking up the chain for sale on eBay that settled it. The chain in the listing had the same gold marks as mine — so they were from the factory, not a previous owner. And I was able to count the same number of links between them as on my chain. From there I assumed it was the book, for one reason or another, that didn't have the right info.
Parts on eBay are forensic evidence.
A listing photo of a new part is a second chain to count — one with no history, no wear, and no previous owner. When it matched mine, two sources agreed against one.
When the manual is wrong
Using the book is usually the gospel, and Clymer is often better than any other manual, including the factory manuals. But this was the first case where I read wrong technical info in a technical manual. I'm sure it isn't the only case of that.
So now I'll be sure to read the manual carefully, and use my personal experience and the parts in front of me as well — in addition to internet resources, including parts on eBay — as forensic evidence in bringing vintage motorcycles back to life.
- Read the manual carefully — it's still the starting point.
- Count and check the parts in front of you.
- Use your own experience.
- Look at parts schematics and other people's write-ups online.
- Find the same part for sale — on eBay or anywhere — and check it against yours.
The broken bolt
Nothing broke on the way apart. Putting it back together, I snapped a case bolt — and I messed that up for sure.
The bolt was old, and I was using a torque wrench; it should have tightened nicely. While installing it, I felt it turn the way a snapped bolt does right as it breaks. I pulled the bolt out, didn't inspect it very well, and put it back in. It snapped off easily.
That feeling was the warning. A bolt that suddenly turns easier under the torque wrench has started to stretch or crack, and it's done — it doesn't get a second try. The moment to stop and replace it was right then, with the bolt in my hand.
I tried to remove the broken piece, but in the end I had to split the cases again to get the snapped portion of the bolt out. It was a costly mistake in terms of time.
- Split the cases again.
- Clean off the gasket material.
- Recheck all the alignments.
- Reapply the liquid gasket.
- Re-torque all the other hardware.