 ▶ Watch on YouTube
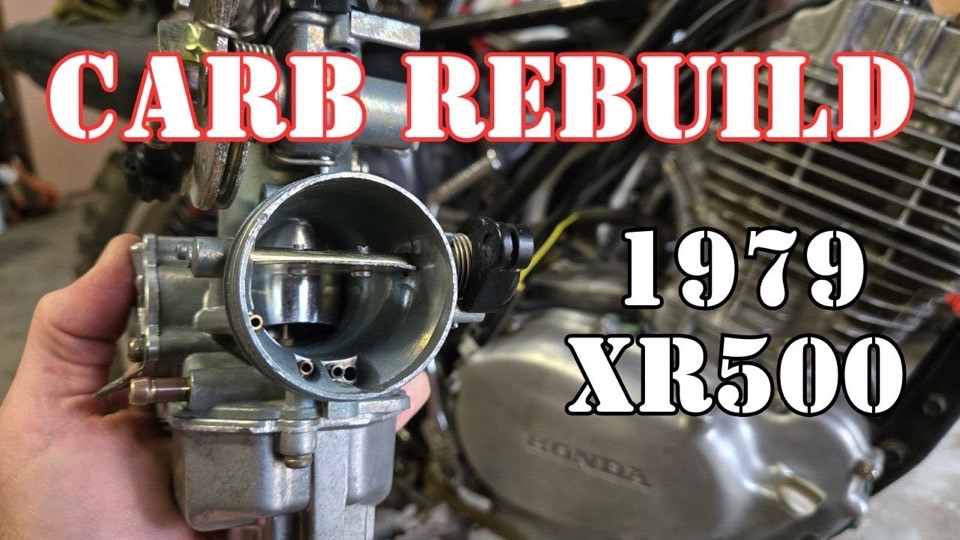
The one part that's always present when working on a vintage motorcycle is the carb. With the engine finished, it was the last thing standing between the XR500 and running for the first time.
Every bike gets the carb looked at
Even on a strong-running motorcycle, the carb is best looked over: jets inspected, adjustment screws checked, and readjusted if needed. This bike, which hadn't run in many moons, was no exception.
A carb is a set of very small passages metering fuel by the drop. Fuel that sits evaporates and leaves varnish behind, and it doesn't take much to narrow a passage that small. A bike that's been parked a long time almost always has a carb that needs attention, whatever else is wrong with it.
Big carbs are the easy ones
I like working on the larger motorcycle carbs. They have larger jets and ports, and they generally clean up easier. The smaller the jet, the less it takes to block it — and the harder it is to be sure it's really clear.
The rebuild kit
This carb needed new internals, however. The O-rings had hardened, the gaskets were torn, and the springs were tired. So I opted for a rebuild kit — a kit is often the cheapest way to get all the gaskets and O-rings at once.
- Gaskets.
- O-rings.
- Springs.
I used the original jets. Unless they're damaged, they tend to work best.
Unless they're damaged, the original jets tend to work best.
A slide that stuck wide open
There was a problem with the slide getting stuck in this carb. It would stick wide open.
That's the worst way for a slide to stick. The slide is what the throttle controls — it opens to let more air and fuel into the engine. Stuck wide open on a running bike, letting go of the throttle doesn't slow the engine down.
It took me a few attempts of taking it apart, cleaning it and trying small adjustments before I got to the root of the sticking.
I tried adjusting the cables and cleaning the cables. Both are good things to do, but they weren't enough to fix the sticking throttle.
The root of it: the lever
It turns out the slide on this carb is operated by a lever system, as opposed to directly by the cable. Within the lever system was enough grime to stick up the operation.
On a lot of carbs, the throttle cable pulls straight up on the slide, so the slide itself is the first place to look when it sticks. Here, the cable moves a lever, and the lever moves the slide. That adds pivots and linkage — more places for grime to collect, and places that don't get looked at if you only clean the slide and its bore.
I'd already fully disassembled the lever and put it back together, and I didn't see any gunk. What was in there was all very small — but it was enough to bind up the lever.
What fixed it was cleaning it in place. I sprayed carb cleaner on it, operated the mechanism, and repeated that a few times. Working the lever while the cleaner is on it carries the cleaner into the pivots, where the grime is, and works the grime out.
I also took a very fine wet/dry sandpaper to the gunk on the slide itself, taking care not to score it or change its shape. The slide is a close fit in its bore. Sand it out of shape and it can bind, or let air past where it shouldn't.
Then I carefully tightened everything down, so I wouldn't pull anything out of alignment.
Back on the bike
Once it was installed, a quick blip of the throttle showed good action, and the cables adjusted properly.
Once it's running, I can fine-tune the adjustment screws — on this four-stroke, the fuel screw and the idle screw. The idle screw sets how far the slide stays open at rest, and so the idle speed. The fuel screw sets the mixture at idle and just off it. On a four-stroke it adjusts fuel; on a lot of two-strokes, the screw in the same job adjusts air instead, so it turns the opposite way for the same result.